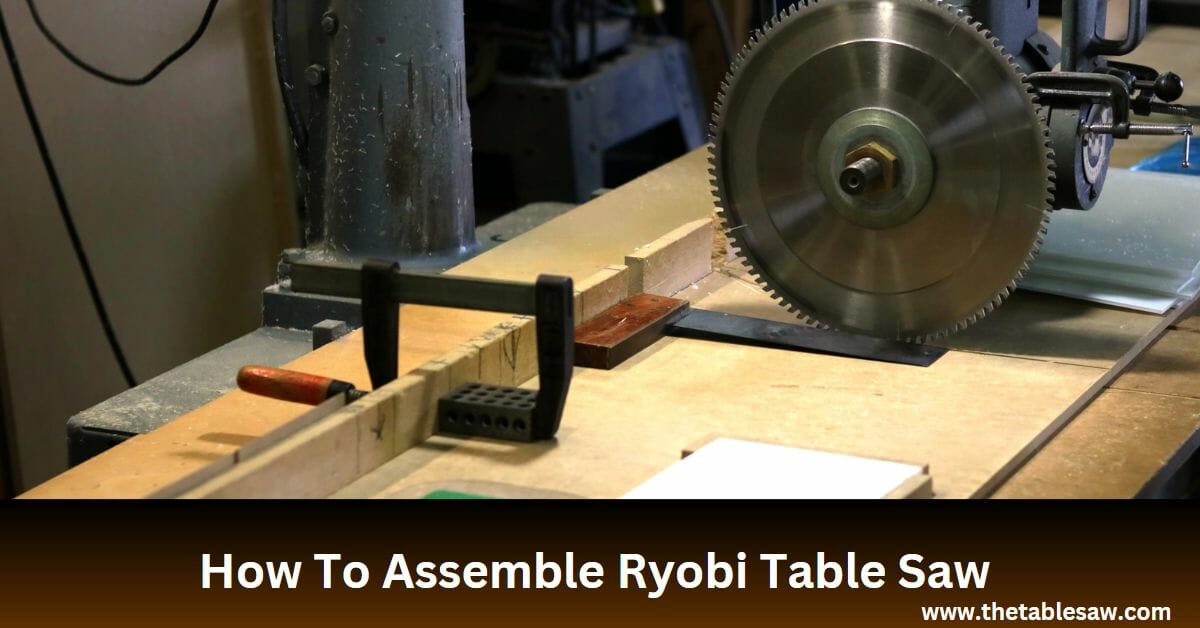
A Ryobi table saw can be assembled in five simple steps, starting from working with the height adjuster, removing the blade guards and metal covers, unscrewing bolts, and then finally reassembling the parts of a table saw. If you’re interested in learning how to assemble Ryobi table saw in detail, check out this article!
Step 1: Locate the riving knife height adjuster.
Firstly, turn the table saw to the side to be able to see all the parts. Remove the additional parts, such as the rip fence, the miter gauge, and the blade guard, so that the blade, known as the riving knife, can be located.
Observe under the riving knife and the anti-kickback pawls to see a lever in black, which is called a “riving knife height adjuster.” Pull the lever up, and then push it back down on the riving knife until a particular click is heard. Once you have heard the clicking sound, place the anti-kickback pawls back in their place.
Step 2: Remove the Blade Guard
Secondly, under the lever you found, you will see a blade guard colored white. You can either pull it upwards for better sight of what’s below or remove it from the blade top. With one hand, you can now lower your blade guard assembly and make any adjustments needed, for instance, if the bolts need to be tightened or loosened.
Step 3: Unscrew the Bolts
Furthermore, use a socket set or a wrench to unscrew the bolts. The pieces should fit properly under the table saw’s metal top. Lastly, don’t forget to tighten a washer onto the bolts and tighten all the pieces together.
Step 4: Remove the Heavy Duty Metal Cover
Turn off your machine to take out the blade. Where you inserted the bolts, there will be a lever on either side. Both the levers will be adjacent to the motor housing area present on the top surface of the table saw.
Once this is done, you will gain access to a heavy-duty metal cover that protects its blade from any sort of damage that can be caused by flying objects which hit it during cutting.
This metal cover is very important as it prevents any harm from coming toward you or the blade, preserving the essence of the machine. Of course, it can add to the weight, but that’s not an issue. Still, learn more about how much a table saw should weigh here.
Step 5: Reassemble!
Lastly, find the riving knife height adjuster and pull it back to its original position. Now you can place your blade guard assembly and the blade guard back where they were.
Follow all the above steps, but now in reverse, to reattach the metal cover, place the rip fence in position, and place the table saw’s top back, assembling your machine again and getting it ready for the work table.
Related to fences, if you’re looking for tips on adjusting DeWalt table saw fences, you’ve come to the right place. Check it out here!
Further Tips On How To Assemble Ryobi Table Saw
Make sure to read the manual that comes with the product – it can help you learn how to assemble Ryobi table saw in more detail. A diagram with all the parts would be present there. Read the instructions written in the manual once to be able to do everything safely and accurately.
When you experience any resistance while working with the table saw, do not try to force it to work. This could cause a severe kickback which may lead to delirious accidents.
Be sure to unplug the machine before starting the assembly procedure so that you don’t start the machine accidentally.
FAQs
How to adjust the rip fence of a Ryobi table saw?
Firstly, unplug the saw and remove the yellow switch key to perform the adjustment. Pull the fence, locking to a raised position to unlock it. Take a square. Usually, a framing square is used. Place the square next to the blade and move the fence up to the square.
Secondly, observe the dimensions using a rip scale. If the dimensions are not the same, loosen the fence screws. Make a few test cuts. If the cuts are correct and aligned, you are good to go! If this is not the case, just repeat the process.
On the other hand, if you’re looking for ways to adjust table saws in general, check out the information we have available on it in a separate article.
What to do if I face resistance from the table saw?
This resistance is usually due to binding. Any sort of misalignment can lead to binding, and consequently, there is resistance. Unplug your machine and read the manual provided with the table saw to learn what to do. Do not try to use the machine while it resists, as this will be dangerous.
On a related note, for more information on power, read about how many watts a table saw uses.
What is the Ryobi Table Saw Working Mechanism?
The machine starts very easily. It has a green button with “on” written on it. Pressing this button will turn on the machine automatically, and it will start making cuts. As this machine is automatic, there is a risk of accidents. Be careful while using the machine, and keep your hands safe.
Once the machine turns on, it can cut the wood into various shapes and sizes. It is capable of ripping, crosscutting, angled cuts, and so much more that usually table saws are unable to do easily.
For more ideas on how to deal with Ryobi table saws, we recommend checking out videos about the brand and other related articles of information:
The Bottom Line
A table saw, in general, is a wonderful tool that can perform several tasks. Although its assembly, its working principle, and its problems are hard to understand and sort out, one can always find a good guide to help out.
Always read the manual as well due to the fact that the manual was designed to guide the users, and finally, be careful because this article may teach you how to assemble Ryobi table saw, but your safety is in your own hands.
Learn more table saw knowledge with “How to align table saw blade?”
Related posts:
 The Ultimate Guide: How to Change Blade on Ryobi Table Saw?
 A Step-by-Step Guide On How To Cut Laminate Countertop With Table Saw?
 The Step-By-Step Guide to How To Cut a Groove in Wood with a Table Saw
 How to Cut Grooves in Wood With Table Saw – A Step-by-Step Guide
 How To Join Boards With A Table Saw: A Step-by-Step Guide
 How To Cut Box Joints On A Table Saw? The Step-by-Step Guide
 How Does a Table Saw Work? A Quick Guide
 The Ultimate Guide on How to Adjust a Table Saw