
To learn how to cut a groove in wood with a table saw, you need to be careful about measuring the distances between the saw blade and rip fence, ensure the correct blade height, and follow the measurements in exact detail to successfully cut both the outer and inner edges of the groove. You can learn more about these steps in detail below!
After all, if you work with table saws, then you’ve probably come across the need for cutting grooves since they’re important for everything; DIY projects, professional clients, and yourself… only one thing is sure. You’re stuck cutting grooves, and you need a way to do it.
Step 1: Setting Up
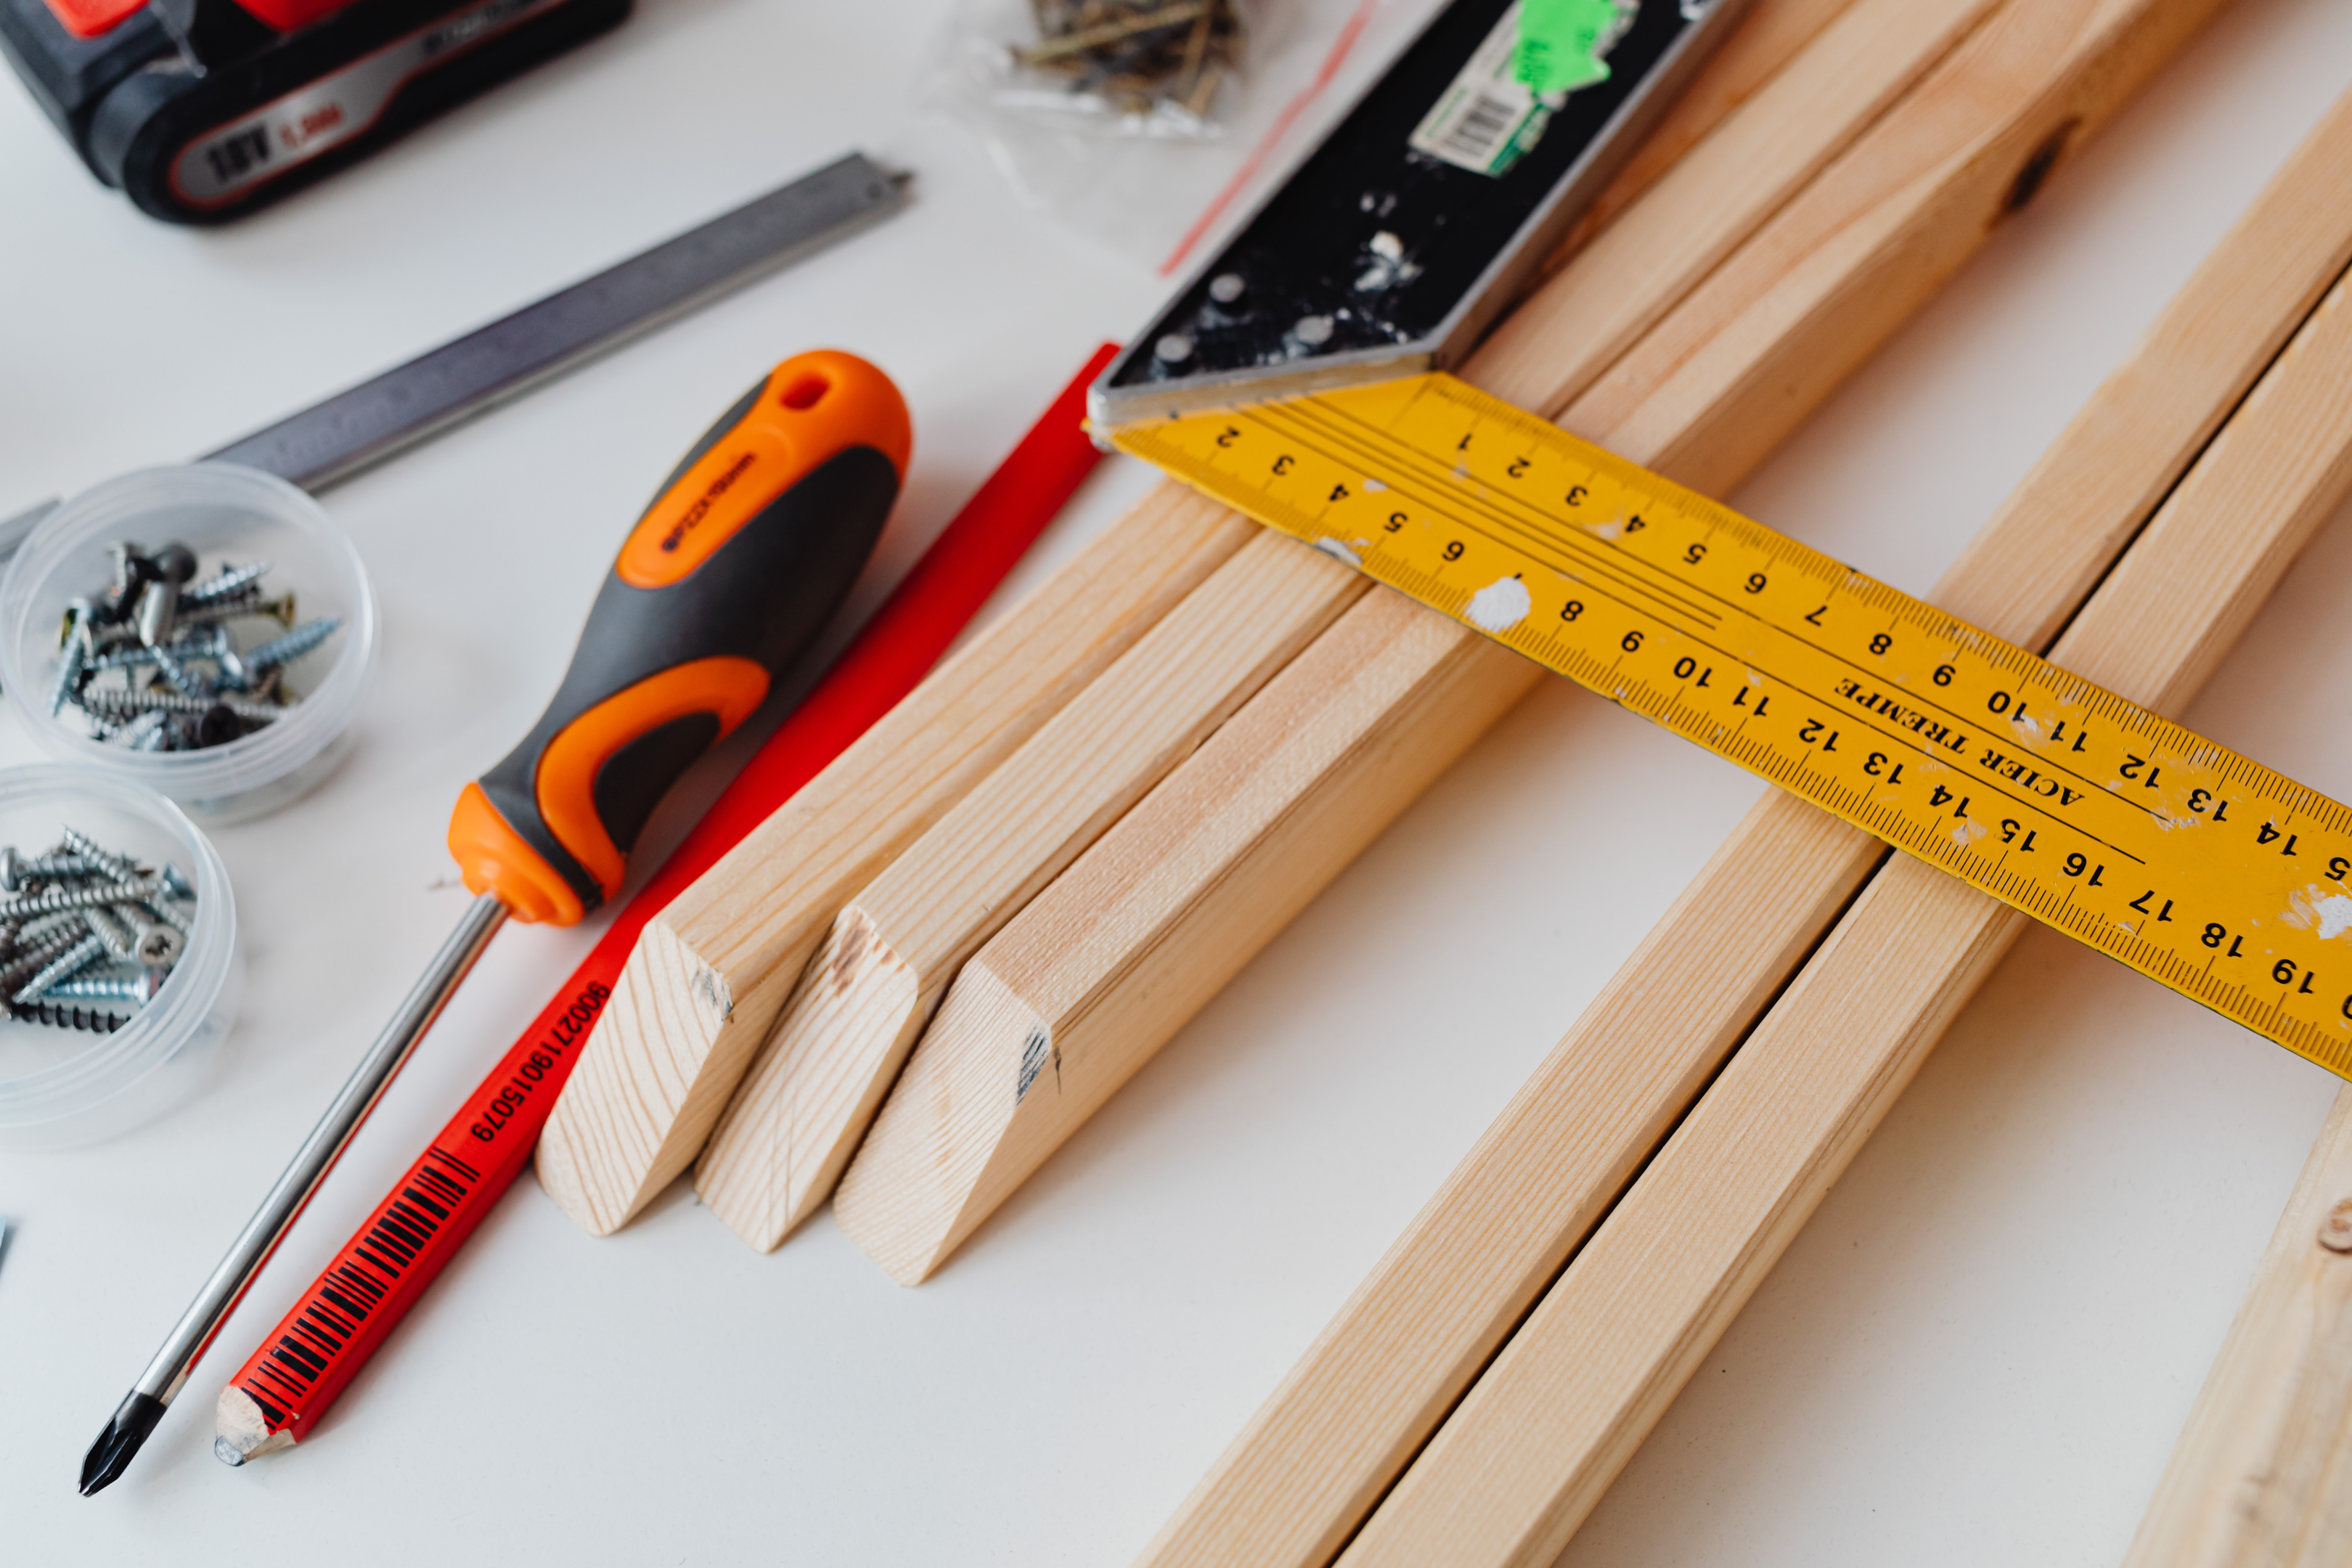
Begin by collecting tools. For starters, you need a table saw with a sharp blade and teeth and a well-dimensioned table. Other than that, here is a list of other necessities that you may need to find before beginning a groove cut:
- A piece of wood: Make that two. One for the actual groove and the other piece of wood for the test groove cut. The latter can be a piece of scrap wood since it’s only there for testing.
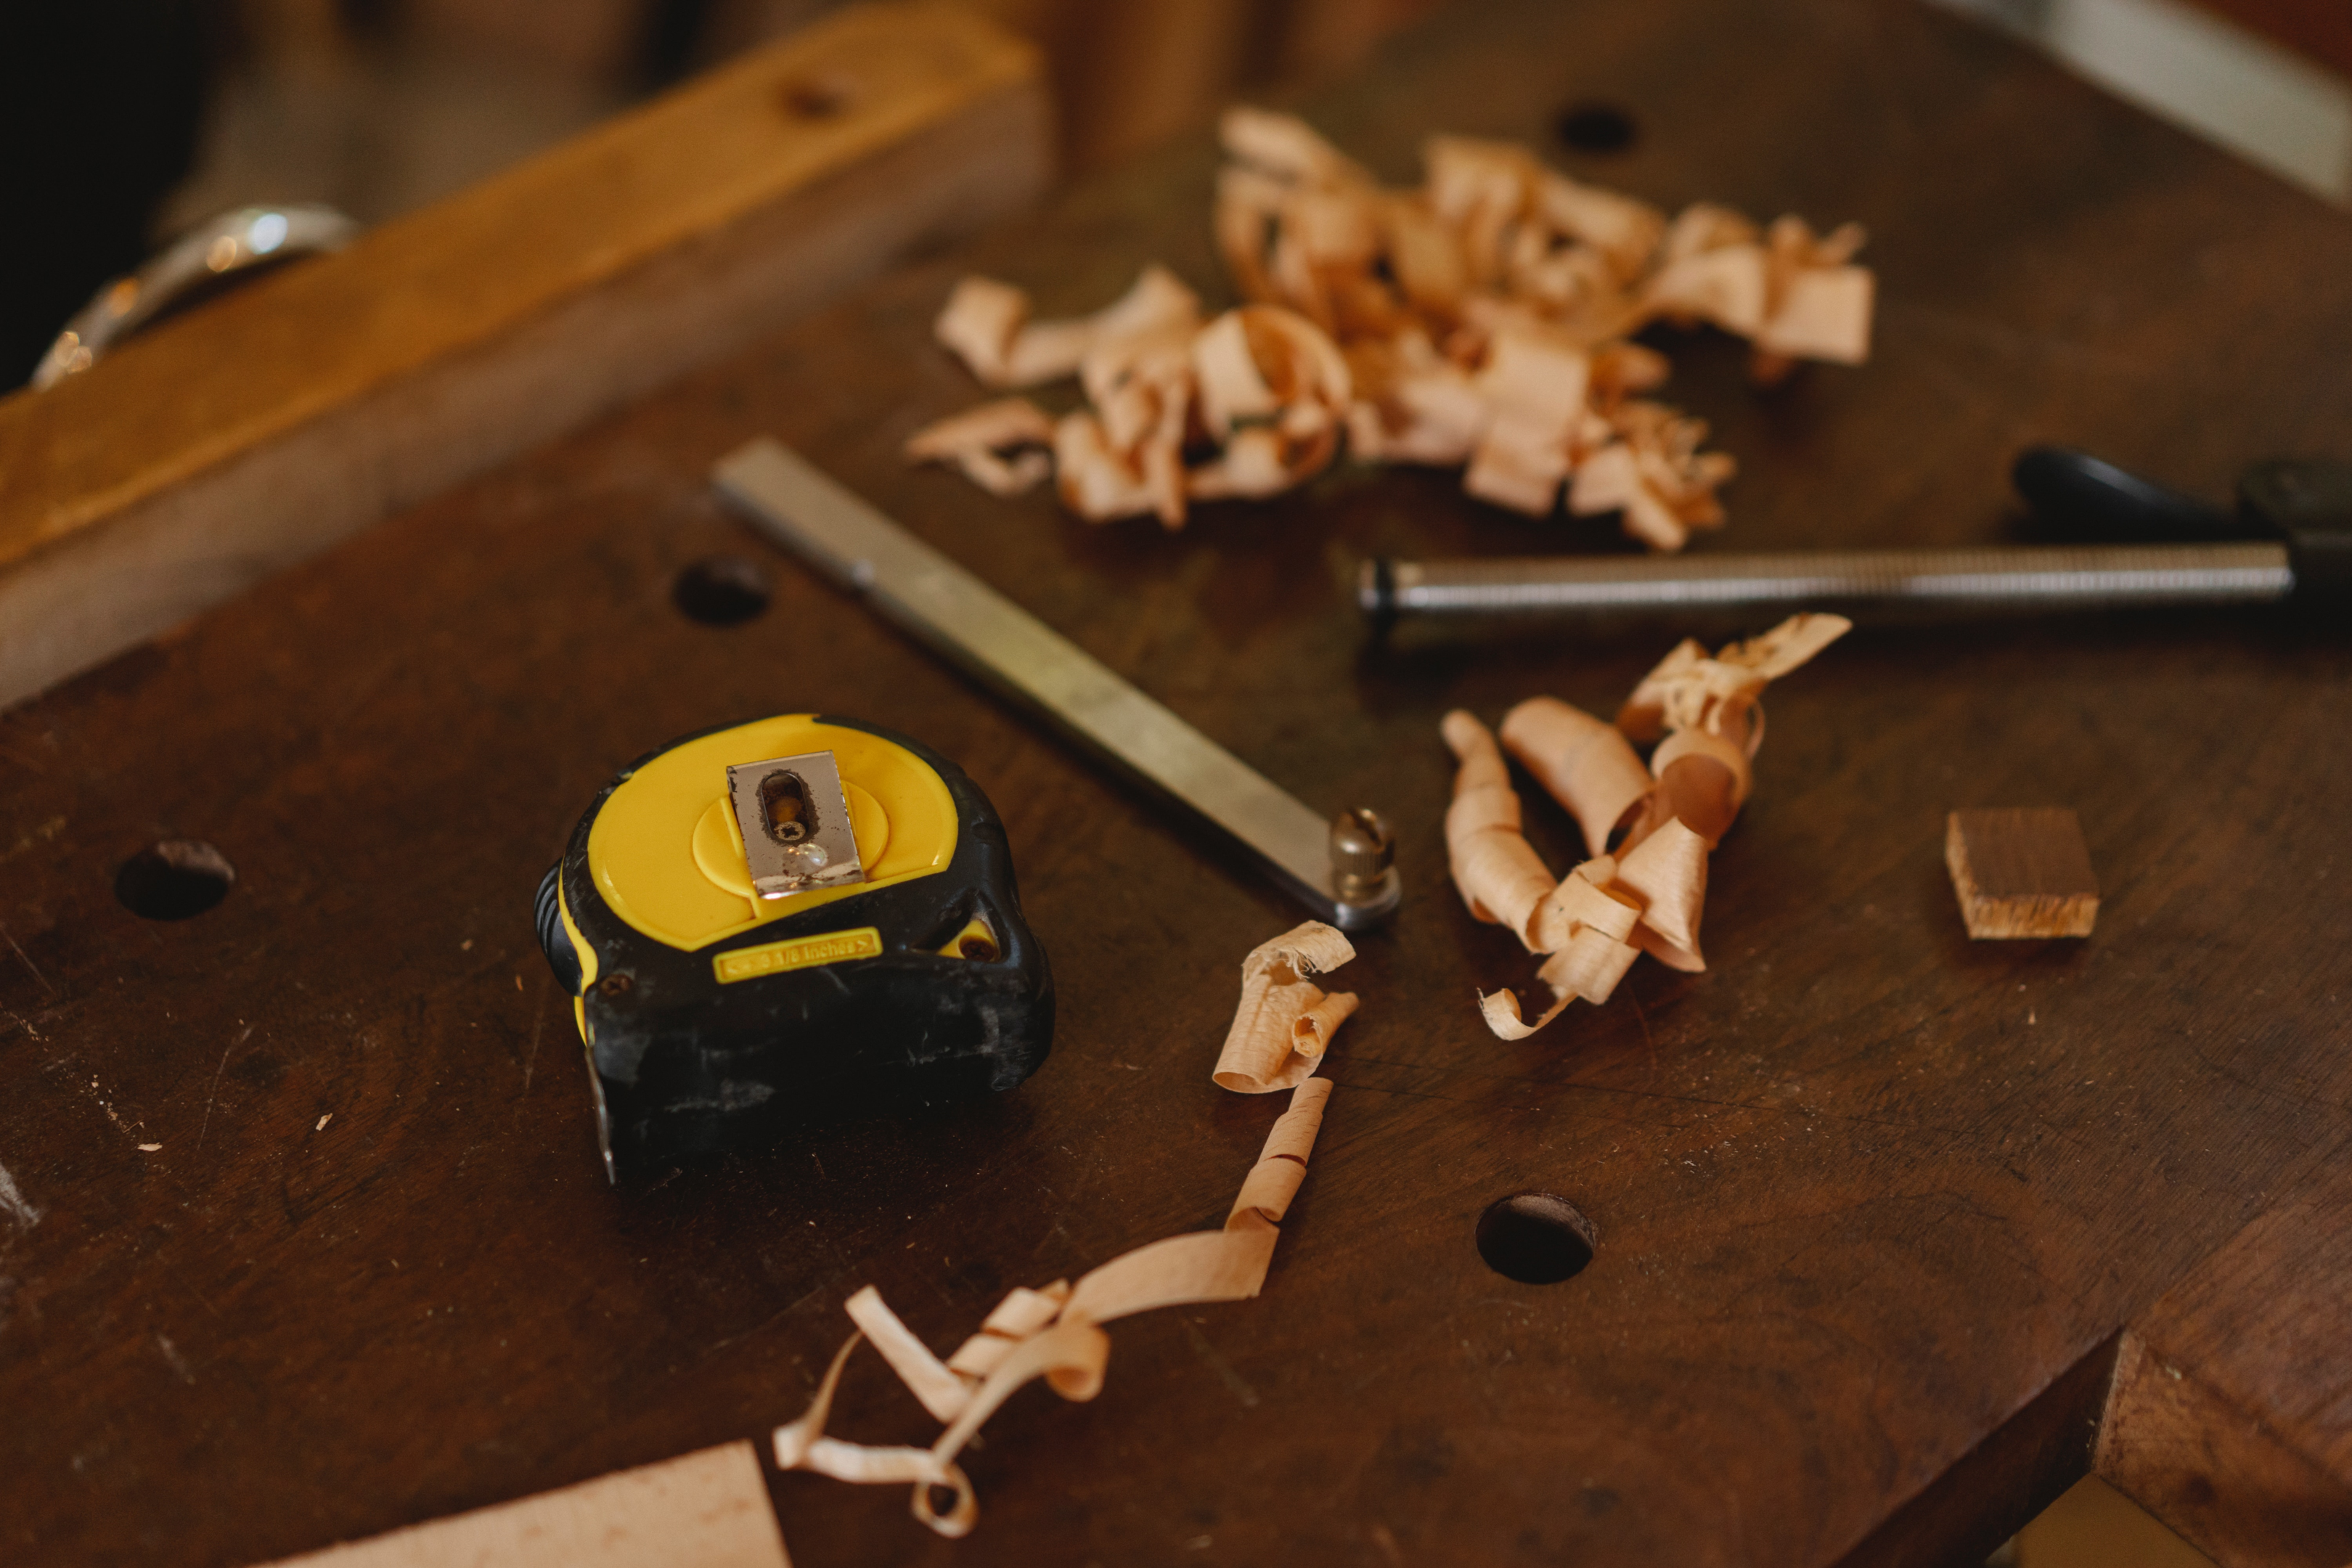
- Measuring Tape: As explained in the actual methodology, you will need a measuring tape to take length measurements of not only the groove but the full piece of wood on which said groove is being cut by the table saw.
- A sharp pencil: To draw groove markings to ensure a straight edge.
- Chisel: For finishing the groove and/or other uses.
- Hammer: Used with a chisel for groove finishing and/or other uses.
- Safety goggles and gloves: A table saw can cut grooves not only in wood but also in your skin.
Step 2: Height Adjustment
Set up your saw blade height such that no more than half of the thickness of the wood is removed. Wrong estimations may result in more removal of wood, hence more wastage, which is something best avoided.
Learn more about the height of the table saw in general, too, for more information.
Step 3: Blade Adjustment
Now, set up the distance between the saw blade and the rip fence such that said saw blade makes proper boundaries for the desired groove. To do so, set apart the saw blade from the rip fence using the correct measurements from the tape.
For more information, check out how to align a table saw blade.

Step 4: Blade Thickness
In these measurements, don’t forget to take the saw blade thickness into account. This is called a kerf. You can learn more about how thick a table saw blade should be in your own time as well, and it will only aid you in your woodworking journey.
Step 5: Test It Out
Switch on the table saw, and once it is at full speed, push in the piece of wood with a push stick.
First, the test sample to gauge the thickness and width of your saw blade, as well as the groove depth of the product. You can use these results to recalibrate all measurements done in the above two steps.
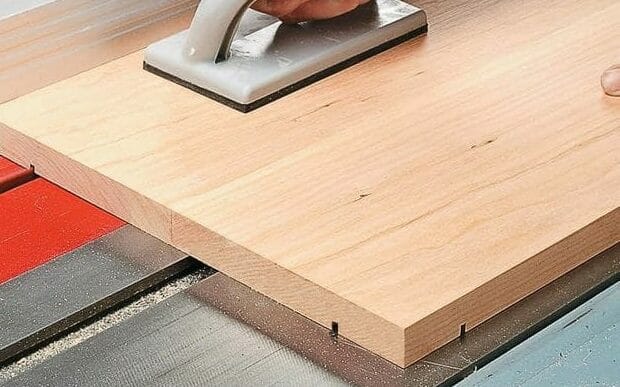
Step 6: Cut The Groove
Repeat the third step, but this time with the actual piece of wood to cut the outer edge of the groove. Temporarily remove the piece and set the distance between the rip fence and saw blade at such a distance to mark and cut the outer boundary of said groove.
After that, change the distances again so that all other cuts must be within this groove boundary.
Step 7: Finishing Touch
Now that all edges of the groove cut are complete, all that is left is the finishing touch, and that is where the hammer and chisel come in. And, of course, by finishing touch, we mean clearing out the space between the grooves.
Step 8: Use the Table Saw
However, you can also use your table saw for this purpose. You simply need to make small, consecutive cuts, and you have yourself a cut groove devoid of any and all irregularities.
If you face any problems with the table saw still, you might want to learn how to adjust the table saw as the first precaution.
FAQs
What Are Some Tips On How To Cut a Groove in Wood with a Table Saw, Especially When Looking For Smoother Grooves?
Whether we’re talking about straight or curved grooves, there is always room for improvement. It could be to cut different groove designs or to learn more efficient ways to make curved grooves smoother.
Here are a few tricks you can follow and learn:
- Better quality plywood means better dado cuts and groove cuts. Learn more about Plywood here so you know why you should choose it.
- The blade must have a sharp and adequate number of teeth to ensure smoother cuts.
- Be sure to check the saw blade for any missing teeth.
- For straight edges, the rip fence must always be parallel to the blade.
- Stop cutting grooves as soon as you feel or see the scrap come loose.
Moreover, if you’re looking for a practical demonstration of the above, you can always check out Youtube videos to help you out. This one on cutting grooves in wood outlines the entire process of using a table saw to cut grooves in wood for whichever project you’re working on!
What Safety Guidelines Should I Follow When Learning How To Cut a Groove in Wood with a Table Saw?
When working with something as dangerous as a table saw and groove cutting, there are always hazards involved. To combat such hazards, be sure to follow the safety rules outlined below:
- Never use any form or model of dado blades. Due to the heavy kickback, they are illegal in many parts of the US.
- While cutting, don’t place your hand on top of the wood sample, and make sure the blade guard is in place to protect you from unnecessary exposure to the blade.
- Make sure no one stands directly in front of the blade while cutting your groove.
- Make necessary measures to prevent any sort of kickback from the table saw.
- When cutting, never wear any sort of clothes that might get entangled with the table saw.
The Bottom Line
Do you still believe that a table saw blade is still not up to the mark when compared to other power tools of its kind when considering how to cut a groove in Wood with a table saw? Sure, you could use a circular saw or even a rapid-cutting router since they’re widely available in the market.
However, if you own a table saw, then simply follow the rules we have laid then for you above, and it will get the job done. Not just for wood, but any material!
Good luck, and have fun testing out these tips and tricks.
For more table saw knowledge, learn about “How much is a used table saw worth?”
Related posts:
 How to Cut Grooves in Wood With Table Saw – A Step-by-Step Guide
 A Step-by-Step Guide On How To Cut Laminate Countertop With Table Saw?
 How To Assemble Ryobi Table Saw – A Step-by-Step Guide
 How To Cut Box Joints On A Table Saw? The Step-by-Step Guide
 The Top Ten Ways: How to Cut Wood without a Table Saw?
 How To Join Boards With A Table Saw: A Step-by-Step Guide
 A Guide On How To Cut Plexiglass on a Table Saw
 How To Cut A Tapered Leg On a Table Saw? An Easy Guide!
1 thought on “The Step-By-Step Guide to How To Cut a Groove in Wood with a Table Saw”