
Plexiglass is a glass-like substance that can be cut and molded to create various objects. Moreover, once you learn how to cut plexiglass on a table saw, it can be cut with a number of different saw types. To cut it, you should use a fine-toothed, carbide-tipped saw blade and a push block. The article details all the steps in detail below.
Note: When cutting acrylic, extreme caution must be taken because of its fragility. Using a table saw to cut plexiglass could seem intimidating, but with a few tool modifications and little alterations, it should work nicely.
Step 1: Tools
While using a table saw blade to cut plexiglass, you will need a few extra tools that you wouldn’t typically need when cutting wood. The most crucial component is a unique blade made specifically to cut through plastic materials.
You must ensure that the plexiglass you plan to cut is what you intend to cut because not all acrylic sheets can be cut on a table saw without significant melting.
These varieties of plexiglass/acrylic sheets exist:
- Cast Acrylic
- Extruded acrylic
- Polycarbonate acrylic
The majority of people picture-cast acrylic sheets when they think about plexiglass. They are tough and, as long as the proper saw blade is used, can be cut with a table saw without melting. You’ll discover that cast acrylics frequently cost significantly more than their alternatives.
Another type of acrylic is extruded acrylic sheets; these are often softer and have much lower melting points. Thus power tools should never be used to cut them. The score and snap method is the most effective way of reducing the size of this sheeting in particular. Extruded acrylic sheets, therefore, have the advantage of being moldable by heat.
You can also purchase polycarbonate acrylic sheets, which are another kind of plastic sheeting. And if you take extra precautions, cutting polycarbonate sheets with power instruments like your table saw is possible.
Since they are softer than plexiglass, you may need to experiment a bit before you figure out how to feed your sheets through your table saw at the right rate and with the right saw blade.
The long and the short of it is that before feeding a piece of acrylic through your table saw, remember to double-check that it is plexiglass, since this is a guide on how to cut plexiglass on a table saw rather than acrylic or glass!
Step 2: Measure the Plexiglass
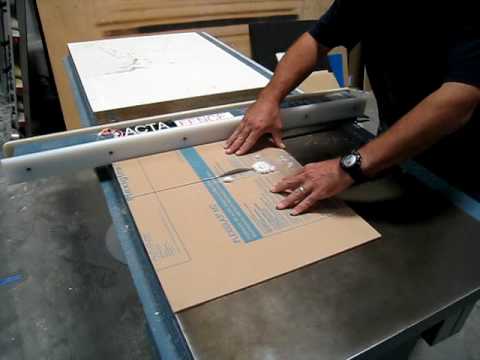
Before making any cuts, use your tape measure to measure the plexiglass sheet. Using a table saw on thin plexiglass could be counterproductive because you risk severely chipping it. Instead of cutting thin plexiglass, score it with a utility knife and split it in half. Using a table saw to cut plexiglass up to 14 inches thick is safe.
Step 3: Choose the Saw Blade
There are hard and soft types of plexiglass. It is advisable to use a blade with fewer teeth to reduce total friction as it cuts because softer plexiglass may melt more easily.
On the other side, harder plexiglass should be cut with a blade with more teeth in order to minimize chipping. Try to make all the tough cuts at once if you have to cut several kinds of plexiglass.
Secondly, make all the soft cuts at once after the hard cuts are completed. By doing this, you’ll only need to replace the blade once or twice.
And, of course, our recommendation is that the ideal blade has a carbide tip.
On the other hand, the thickness of the blade also matters. Learn more about how thick a table saw blade is.
Step 4: Measure the Size of the Cut
On the plexiglass sheet, measure and draw the desired cut size. To prevent your piece from becoming too narrow, remember to account for the thickness of the blade while setting the fence on the table saw to hold the plexiglass in place. The fence should be locked, then.
Step 5: Use Safety Goggles
When operating a table saw, you should always wear safety glasses, but cutting plexiglass is when this is particularly crucial. Plastic shards could fly out of the saw blade and into your face.
Put on your safety glasses now!

Step 6: Use a Push Block
Holding the plexiglass with a push block, shove it through the blade. Any table saw work must include this safety tool. By maintaining the plastic sheet flat against the fence as you slide it past the blade, you can do it safely.
The push block’s three-directional force maintains the material you’re working with securely in place and prevents vibration on both sides of the blade. The push block exerts downward pressure to hold the plastic in place, side pressure to keep it up against the fence, and forward pressure to keep it moving.
This is crucial because you want to prevent rough edges caused by uncontrolled vibration.
Step 7: Make the Cut
Even if there are some slight elements to consider to ensure the quality of the end product and your safety, cutting plexiglass generally resembles cutting wood.
Change your table saw blade to one that is best for cutting through plastic and the kind of plastic you are cutting, as specified in Step 2. Your blade’s height should only be half an inch higher than the acrylic sheet you plan to cut.
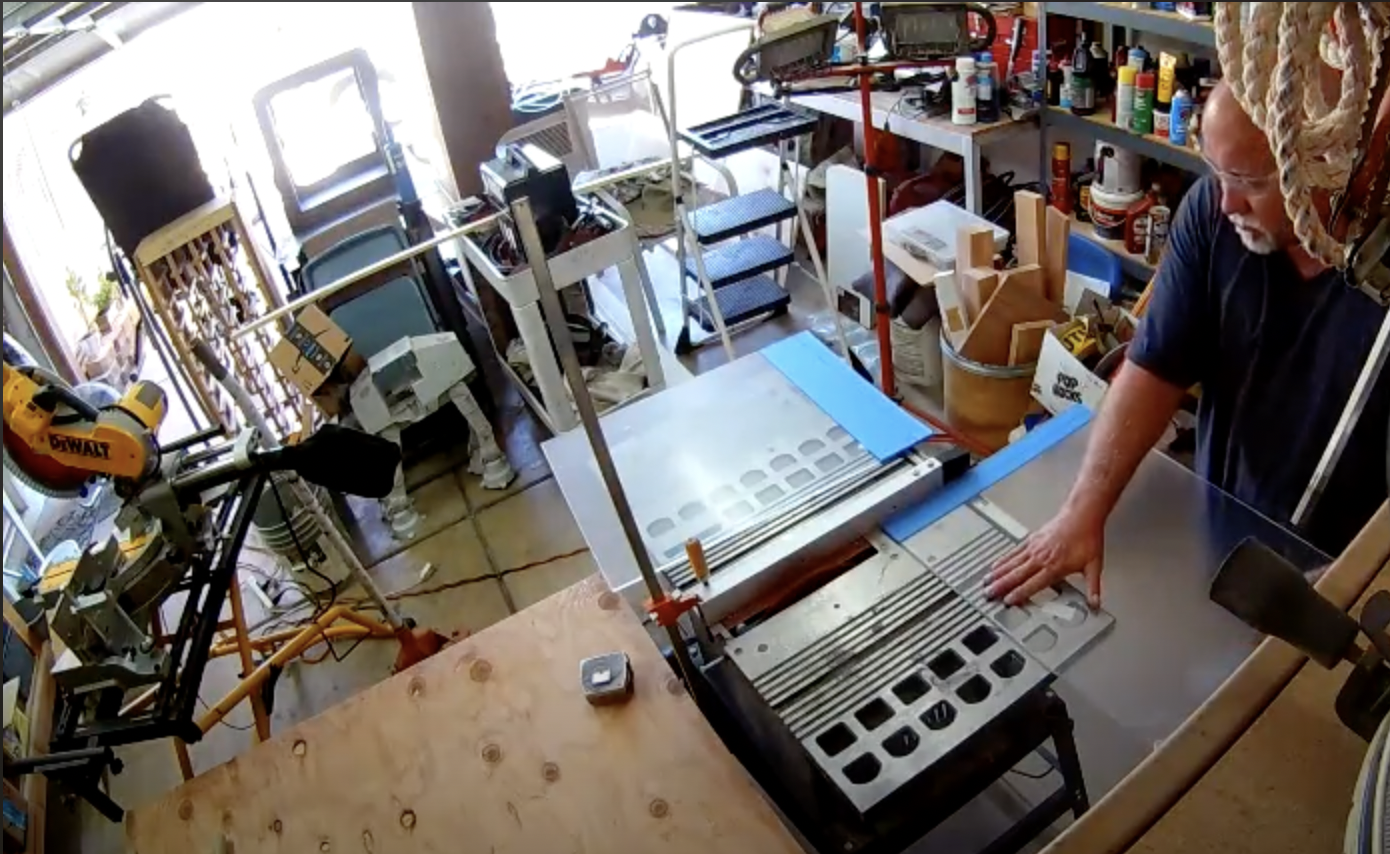
Make sure you turn on the saw, then slowly and smoothly push the plexiglass through it. The edge will chip if you use too much force or move the plastic too quickly.
The push block and fence will guarantee a clean cut and the protection of all of your fingers. Throughout the whole process, hold the plexiglass firmly against the fence.
If you see the edges chipping, switch to a blade with more teeth; if the plastic melts, switch to a blade with fewer teeth and proceed more slowly through the saw.
You must have already measured the sheet and marked it for your cuts according to Step 3’s instructions. Keep the plexiglass’ protective field in place; doing so will help keep it from getting scratched.
Set up the table saw as you would for cutting wood, with the fence in place and the workpiece tightly against the fence. Place the plexiglass on the in-feed table of the table saw with the protective film side facing the table saw table.
By stacking the plexiglass sheets on top of one another, you may saw several at once to save time. To prevent the sheets from moving, use clamps.
Plexiglass Feed Rate
You need to be certain about the speed at which you wish to feed your sheet through the table saw blade.
It is advised to move steadily and feed at a rate of roughly 3 inches per second. Although it’s not necessary to be precise, you should go slowly and steadily. If the sheet is particularly thin, you might want to lower the feed rate.
Put Pressure on Plexiglass
As was already explained, you want to push the plexiglass sheet forward while keeping it firmly pressed up against the fence.
This is crucial, but it’s even more crucial if you’re cutting a thin acrylic sheet because these can vibrate dangerously.
Cross-Cutting
Cutting acrylic sheets crosswise won’t be fun for you. This is due to the fact that the edges frequently chip. Starting at one end, flipping the acrylic sheet over, and finishing the cut from the opposite side can occasionally be useful.
Cutting using a crosscut sled would be best, of course, and if you don’t have one yet, know that you can make one, too. We recommend using a guide to learn how to build a crosscut sled for your table saw.
Step 8: Finish the Cut and Sand the edges
The edges will be a bit rough, so finish cutting now before sanding them. Additionally, the table saw may glaze the edges because it generates considerable heat when making cuts. Sand the edges as described below for smooth, even edges.
- Get a sanding block and fine-grit waterproof sandpaper.
- Start by using coarse-grit sandpaper, then move on to finer-grit sandpaper as the edges become smooth.
- Use 600-grit sandpaper for a smoother finish.
- Additionally, if you have a buffing pad and an electric drill, they can both assist you in getting an extremely smooth surface.
The process of cutting plexiglass on a table saw may not be an easy one, but going through the process step by step always helps. If you’re inclined to a practical demonstration as well, do check out videos outlining the steps covered above in a method of cutting plexiglass on the table saw, and this time, the easy way!
Otherwise, if you’re interested, here’s a different look at three ways to cut Plexiglass!
Cutting Plexiglass in a Circle
Now that you understand how to cut plexiglass on a table saw, let’s get a little more specific with cutting plexiglass circles.
Plexiglass circles can be sliced in a variety of ways. We’ll outline three practical ways to do this for you below.
Put on safety gear first, then fasten the Plexiglass sheet to your workbench. When you’re finished, cover the area where the blade will make contact with masking tape. You won’t need masking tape if the sheet’s backing paper is still attached to it.
Cut as many circles as you like, up to 3 inches in diameter, with a Forstner bit. You must be careful since the pieces are extremely pointed and can cut through even the thickest sheets.
To cut out the circles, you can also use a hole saw attached to a hand drill or even a drill press.
A jigsaw or saber saw with fine-toothed blades is another technique. The greatest option if you want to cut big circles is to use these saws.
Make a circle on the Plexiglass sheet by marking it, and then drill a tiny hole inside the circle that is approximately 14 inches wide. You then start cutting out the circle by inserting your saw’s blade into the hole.
Similarly, you can use your table saw for not only cutting circles or straight lines but various other shapes and joints as well, such as Learning How to Cut a Hexagon on a Table saw or Cutting a Rabbet Joint with a Table Saw.
Conclusion
If this is your first time dealing with plexiglass, you shouldn’t be anxious any longer. With the help of this tutorial on how to cut plexiglass on a table Saw, you should have no trouble. Always use the proper blade, the appropriate speed, adequate pressure, and a gentle, steady push toward the blade.
Learn more table saw knowledge with “How much does a table saw weigh?”
Related posts:
 How To Cut A Tapered Leg On a Table Saw? An Easy Guide!
 How To Cut Acrylic Sheet with Table Saw? A Quick Guide
 How to Make A Bevel Cut With A Table Saw: A Complete Guide
 A Beginner’s Guide to Learning How To Cut a Straight Edge on a Table Saw
 A Step-by-Step Guide On How To Cut Laminate Countertop With Table Saw?
 The Step-By-Step Guide to How To Cut a Groove in Wood with a Table Saw
 Cutting Angles: How To Cut 45-Degree Angle With Table Saw
 Cutting Angles: How To Cut 60-Degree Angle On A Table Saw