
Every woodworker and their shops are run fundamentally by a saw. Although other options are present, the table saw is dominant as it can perform various tasks if you correctly understand how to use it. This guide will focus on summarising how a table saw works by reviewing the parts of a table saw, the safety rules, and how to rip and crosscut using the saw.

The Basics
There are different sizes of table saw blades for different tasks. The standard blade size for woodwork is 10″. For smaller tasks, a size of 8″ may be used, while a blade size of 12″ would be ideal for cutting through thick materials. Before using the saw, you must decide which type of saw you need to use.
Other basic information you need to confirm before using the table saw includes the type of blade you utilize, or the height of the table saw itself. The latter is particularly important if you intend to work with this tool for extended periods and want your final product to be of high quality. So, if you’d like to learn more about the required height, learn more about how high a table saw should be.

Table Saw Anatomy – An Overview of the Parts
A typical table saw has the following components:
- A blade-height crank that is used to raise or lower the blade
- The table saw height also matters, and for that, you can find more information here.
- A rip fence, which is placed next to the saw blade and functions as a guide bar
- A miter gauge that helps in making crosscuts effectively
- A blade guard which covers the blade while it cuts and acts as protection in case your hands get too close to the saw blade
- A set of push sticks with which you can feed the material through the saw without placing your fingers at a risk
Learn more about the table saw’s machine details here.
Safety First!
Table saws are hazardous tools that, if not used properly, can lead to gruesome scenarios. Following are a few precautions one must follow to protect themselves from harm and be able to prevent kickback:
- First, never start the saw with the material to be cut placed next to the blade.
- Be sure to use the rip fence when making rip cuts, as this provides support.
- For crosscuts, use the miter gauge instead of a rip fence, as it will provide adequate support for making good cuts.
- Place the material completely flat against the table while cutting it.
- Wear safety glasses, ear protection, and blade guards for a safer cutting experience.

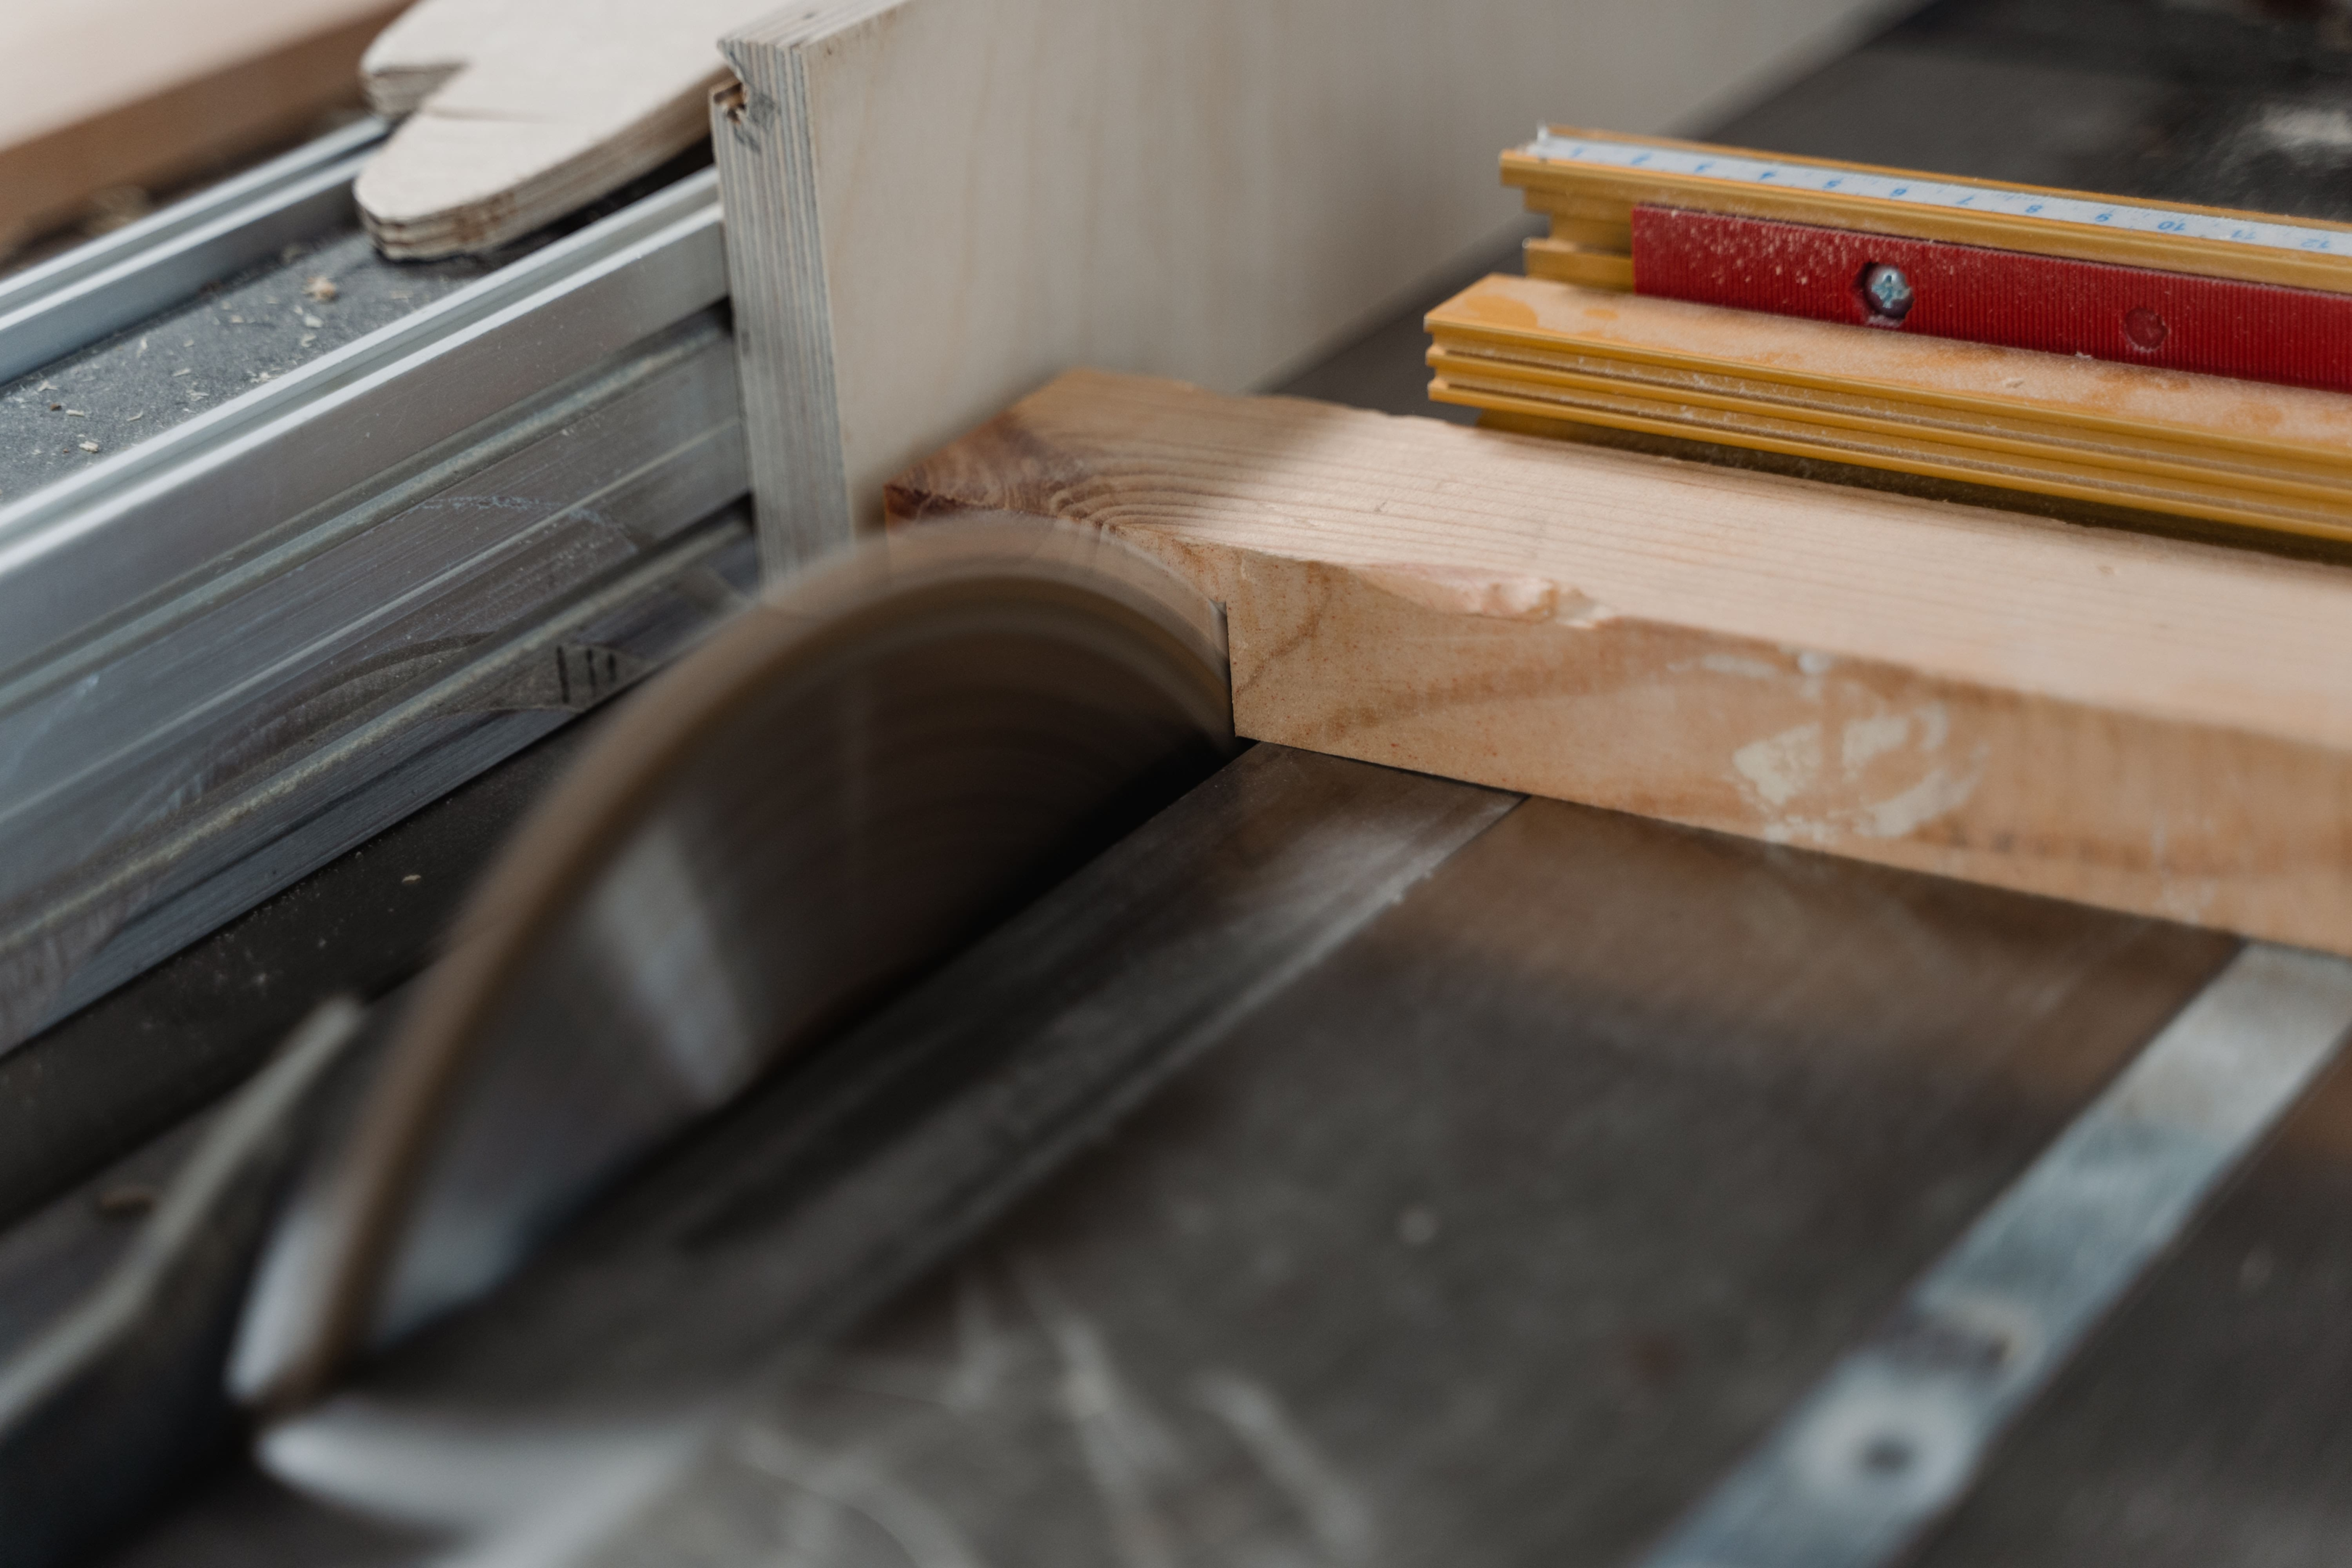
How to Rip Using a Table Saw
Ripping refers to cutting material to a specific width. This is the most common use of a table saw. The table saw’s rip fence is used to set the desired width and be able to cut the piece safely and efficiently.
On a side note, if you’re concerned about the fence, you can also learn how to adjust it with this guide on adjusting a DeWalt table saw fence!

Here are the steps you need to follow to use this table saw function:
STEP 1
Make sure the table saw is unplugged. Fit in a rip blade suitable for the material you are cutting. Adjust the blade height. The blade should not rise above your cutting material to a height of 1/4″.
To adjust the blade height, use an arbor nut wrench. One must have come with your table saw. The arbor nut is the nut that holds the blade in its place. By loosening it, the blade height can be altered. The blade teeth should be directed toward the front of the table saw. Once the height is adjusted, tighten the nut.
STEP 2
Place and position the rip fence by releasing the lock. Table saws have a ruler built in but do not rely on it solely. Use a measuring tape to measure the distance between the fence and the closest saw tooth. By measuring this length, you are considering the kerf. Kerf is the amount of wood that will be cut away and lost when the blade is run.
STEP 3
Plug it in and position the material you are to cut away from the blade until the machine has started and reached maximum speed. If the material touches the blade beforehand, you would be at a high risk of kickback.
STEP 4
Move the material slowly but firmly closer to the blade along the rip fence. Use one or both hands to maintain control over the wood piece. If the material you are using is long, it is beneficial to have a helper or a table extension to help cut the piece smoothly.
STEP 5
When making narrow cuts or rips in which your fingers may get too close to the blade, never risk it. Use a push stick to move the material ahead, and keep your fingers away from the moving blade.
How to Crosscut Using a Table Saw
Crosscutting is when the material is cut to a specific length. For this function, using a rip fence is not ideal as it provides less support. Instead, a miter gauge provides better results as it has a gauge fence that stabilizes the material onto the table.
Note: Learn how to make a crosscut sled for your table saw!
Most miter gauges also have a protractor-resembling guide which can be adjusted by loosening its nob to change the angle. Once set, the nob can be tightened, and the angle can be measured accurately.
STEP 1
Make sure the saw is unplugged, and insert the crosscut blade into the table saw. The process is identical as described above in step 1 of “How to Rip Using a Table Saw Blade.”
STEP 2
Adjust the miter gauge’s protractor guide to make the desired cut style.
STEP 3
Using clamps, align the wood along the miter gauge’s front edge if needed.
STEP 4
Turn the saw on but only let the material touch the blade once it is turned on and running at maximum speed.
STEP 5
Slide the miter gauge and the material you are cutting toward the moving blade. Be sure to do it slowly and cautiously.
STEP 6
Collect the cut parts of the wood. They will be placed close to the blade; hence be sure to turn the table saw off and unplug it. If you’d like to understand crosscutting in more detail, you can also check out a practical explanation:
Conclusion
A table saw is a versatile device that can be used in many ways. By combining it with skill, experience, and an ample amount of knowledge, one can master the use of a table saw. Be sure to follow the outlined safety rules for a safe and enjoyable experience with the table saw.
Learn more table saw knowledge with “How much is a used table saw worth?”
Related posts:
 How To Install A Blade Guard On Craftsman Table Saw? A Quick Guide
 How To Cut Acrylic Sheet with Table Saw? A Quick Guide
 A Quick Guide On How To Align Table Saw Blade!
 How To Build A Crosscut Sled For Table Saw: A Quick Guide
 How To Build A Miter Saw Table – The Quick-and-Easy Guide To The Two Types
 How To Make A Box Joint Jig For Table Saw? A Quick Guide
 The Ultimate Guide on How to Adjust a Table Saw
 The Ultimate Guide: How to Change Blade on Ryobi Table Saw?